


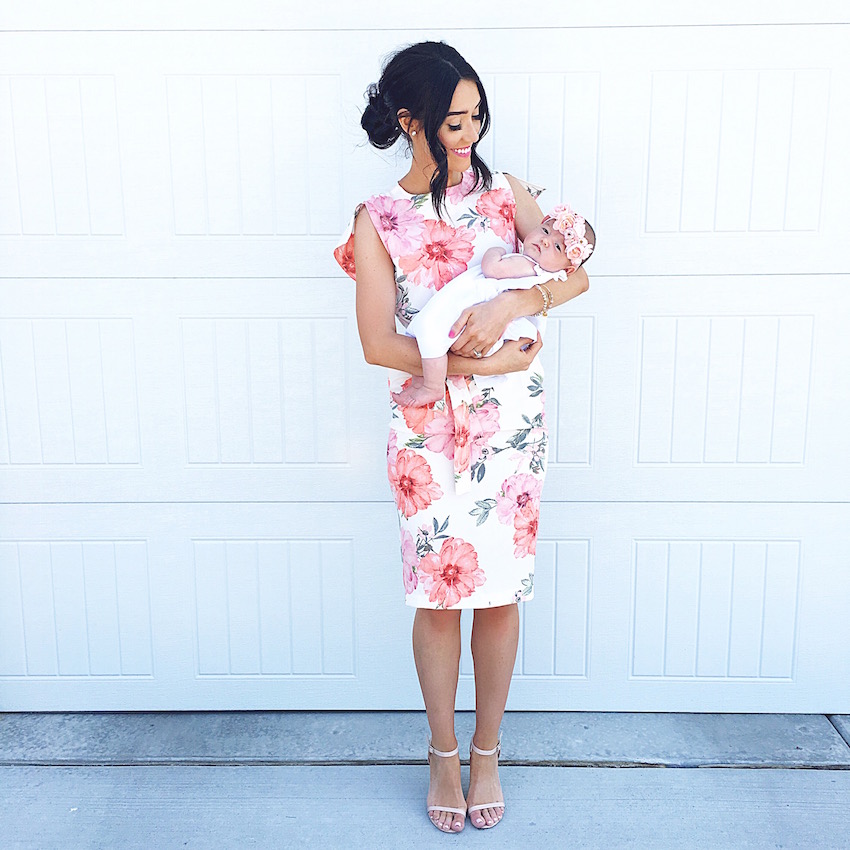

Monroe’s Blessing
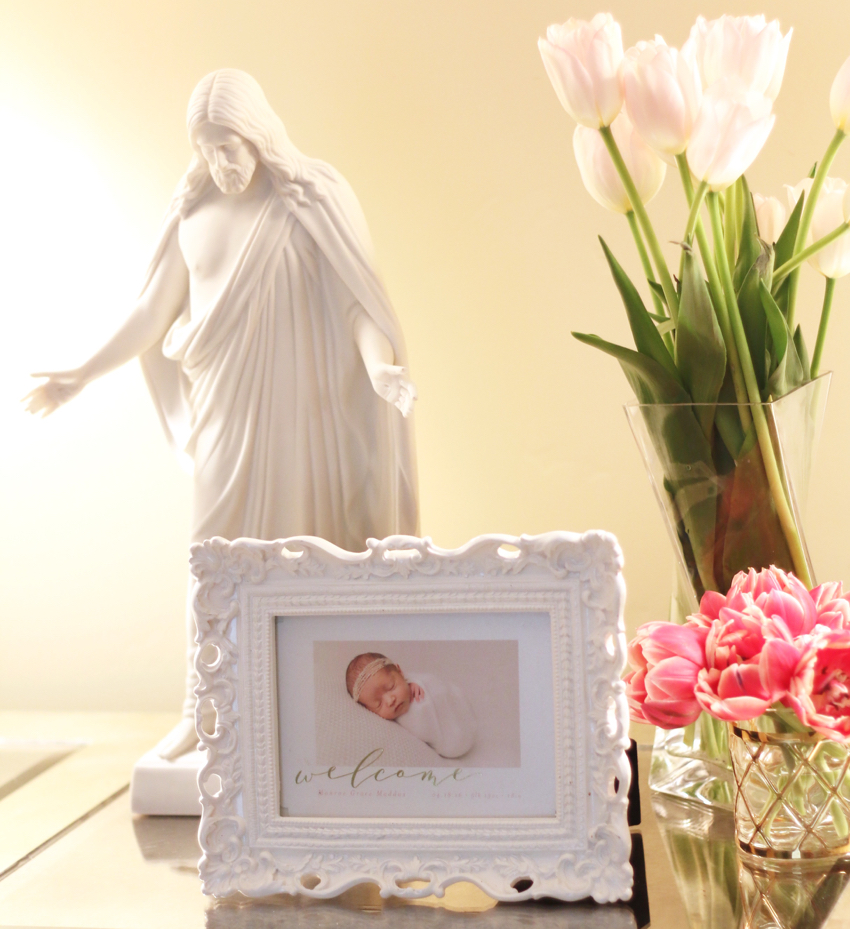
I talked about the dress I wore for this special day yesterday in the past post but I’m so excited to share with you guys a little glimpse of the day itself! In our church, The Church of Latter Day Saints we get our baby’s blessed when they are little. It’s a special day in our house & for our little one. My husband gave our little girl the most beautiful blessing and something I will cherish forever.
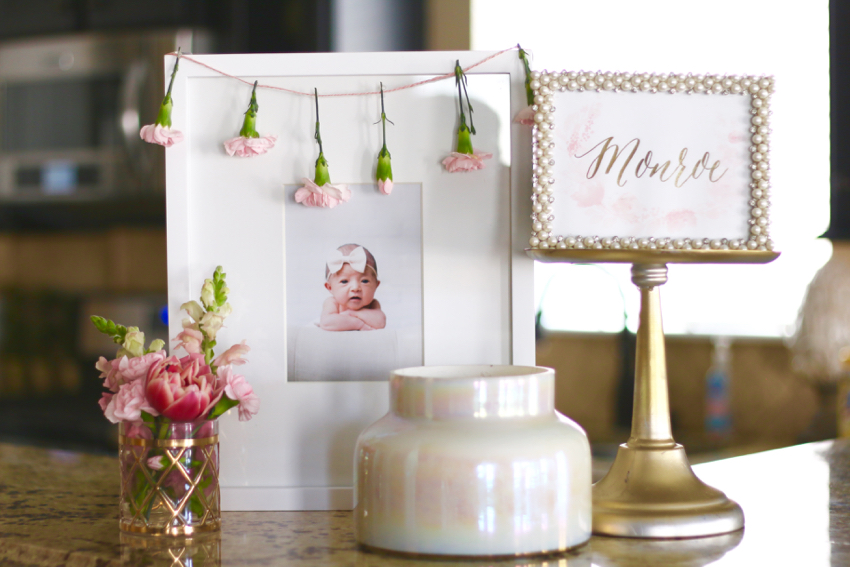
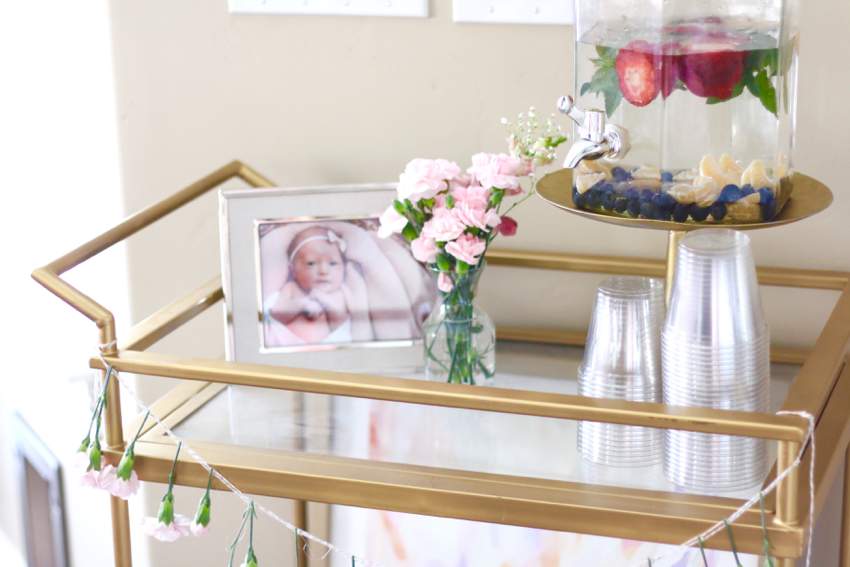
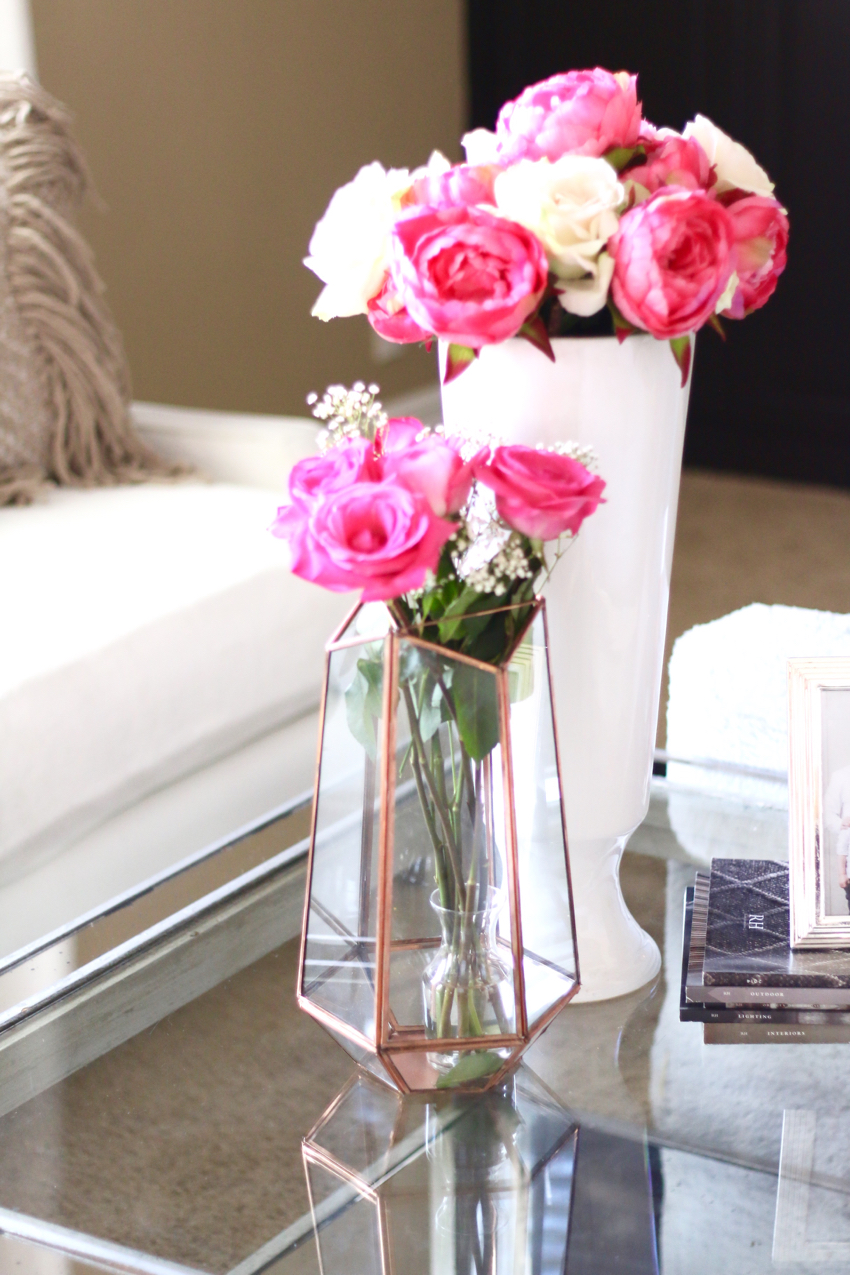
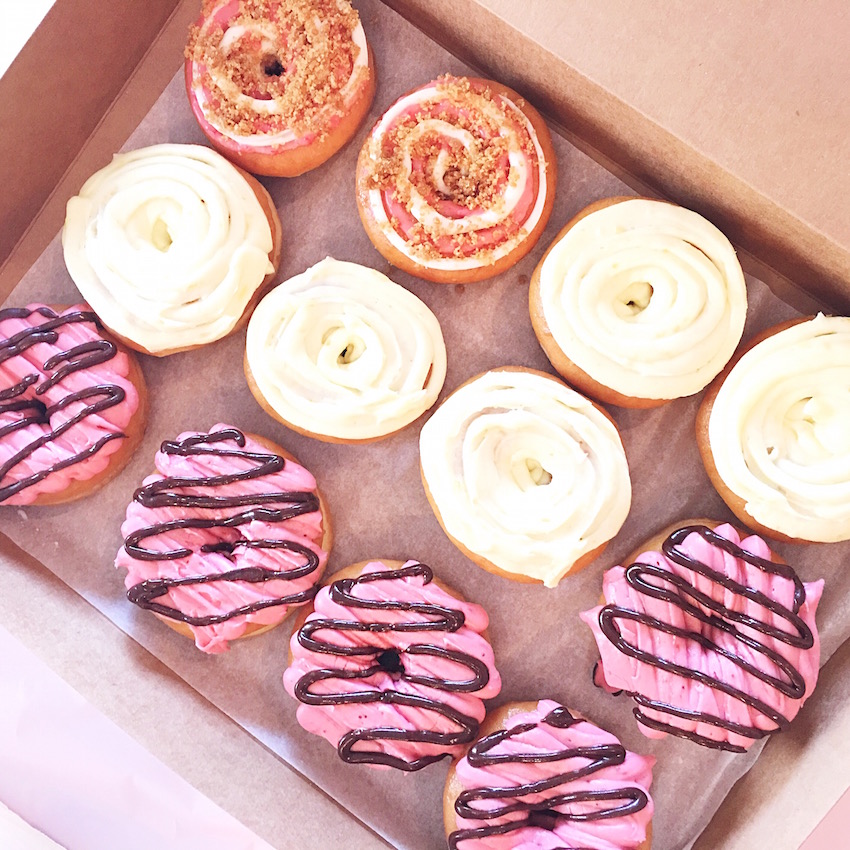
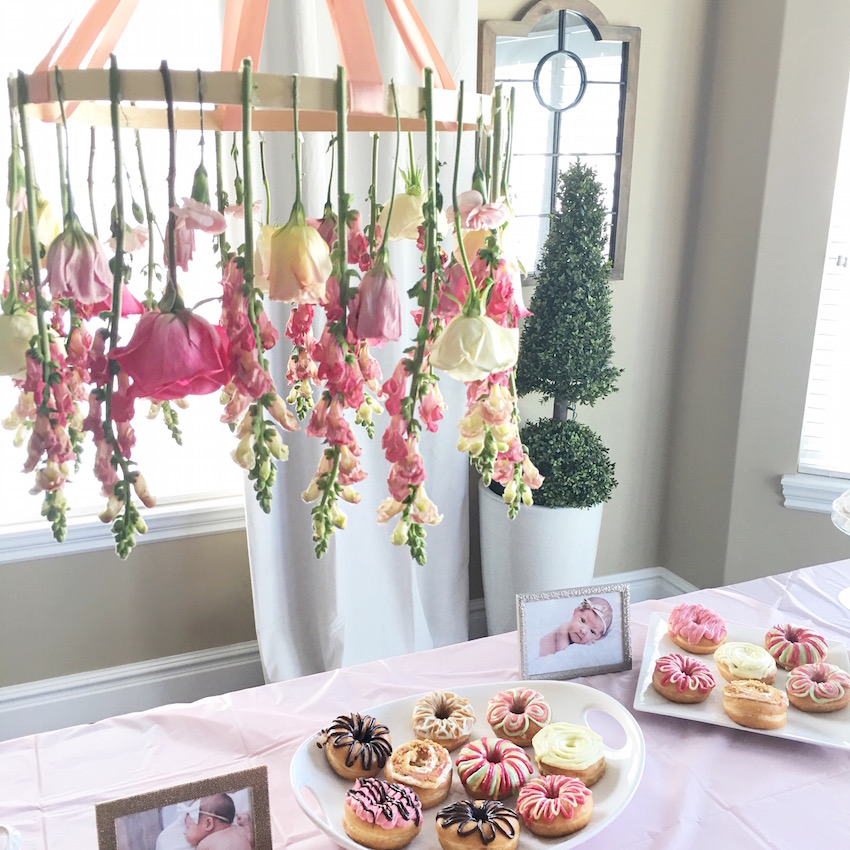
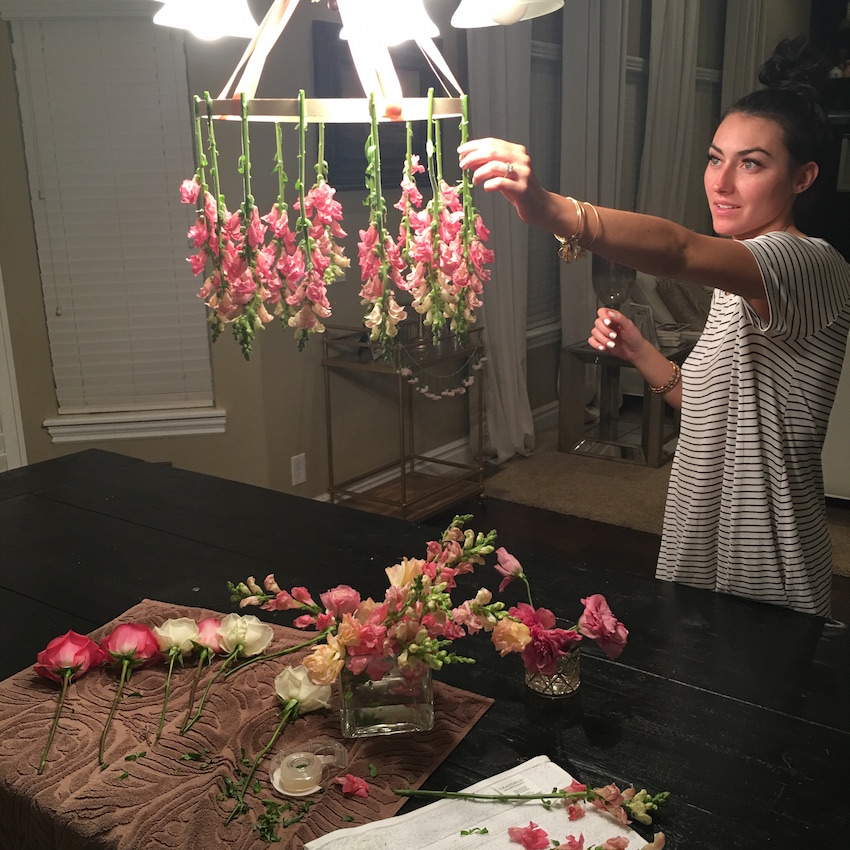
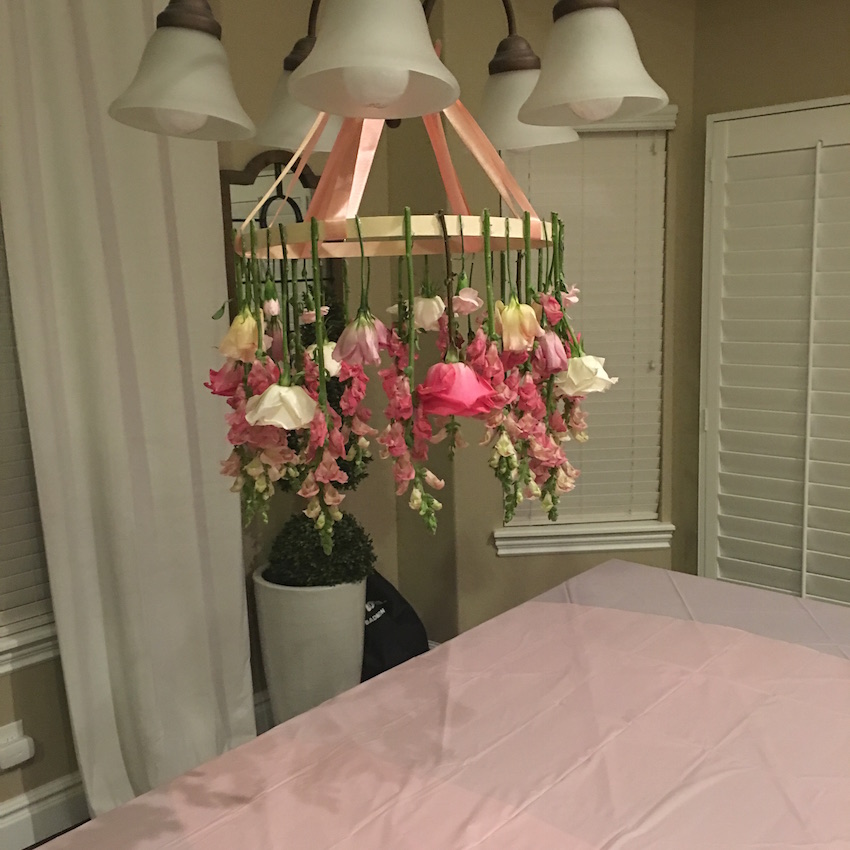
I just wanted to share with you guys a little bit about the day and what we did. Also, I’ve gotten so many questions about the flower chandelier and let me tell you, it was SO easy! We had a little get together at our house after & I wanted to keep it simple & easy. We did donuts & fruit! It’s just a mix/mingle so nothing over the top! I love keeping things easy because I think it gives everyone to enjoy each other’s company a little more. I kept the decorations simple as well! Simply grabbed a bunch of flowers made some little arrangements and placed them around! Below I will talk more about the Flower Chandelier & Garland! I hope you guys enjoy! XO
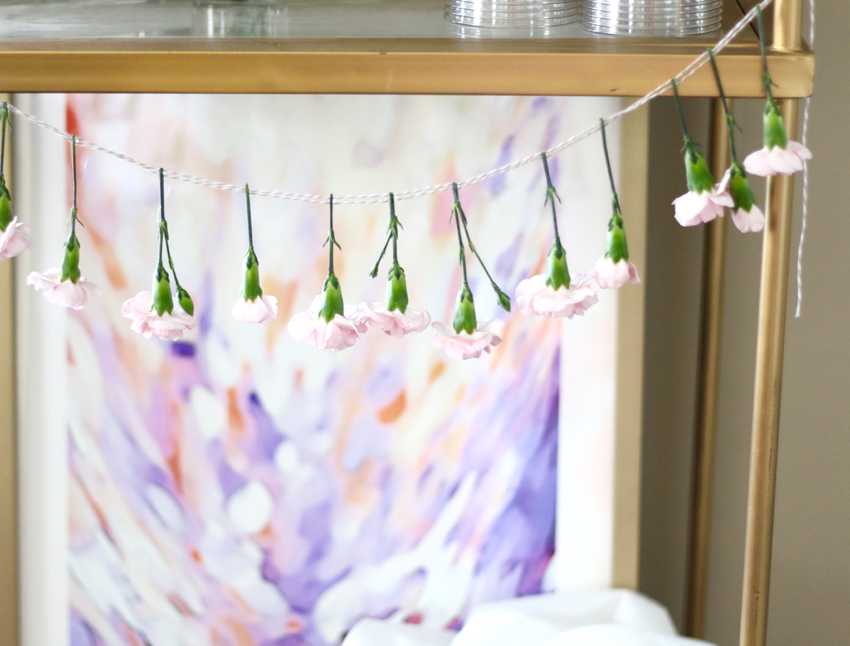
Flower Chandelier
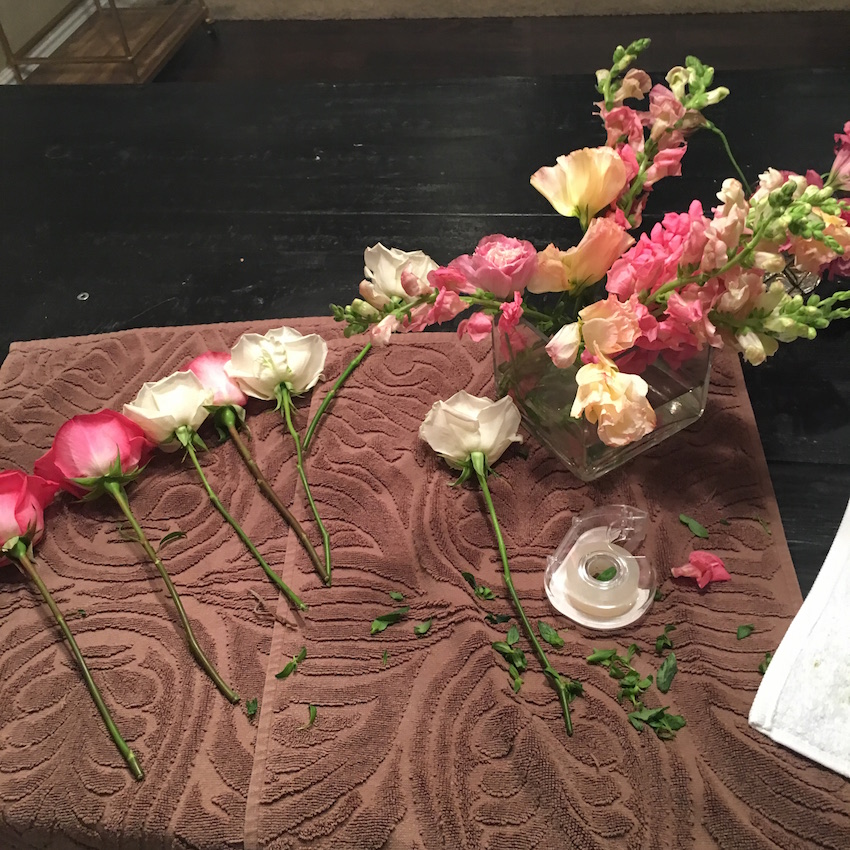
Supplies:
Flowers – I grabbed a tons of flowers from Trader Joe’s (great place for flowers) I wanted a variety of types and colors.
Wooden Loom (Grabbed mine at Hobby Lobby)
Hot Glue Gun
Ribbon to hang it
Scissors
Directions:
Pictures Below
I cut the primary flowers all at the same length before beginning to have a starting point
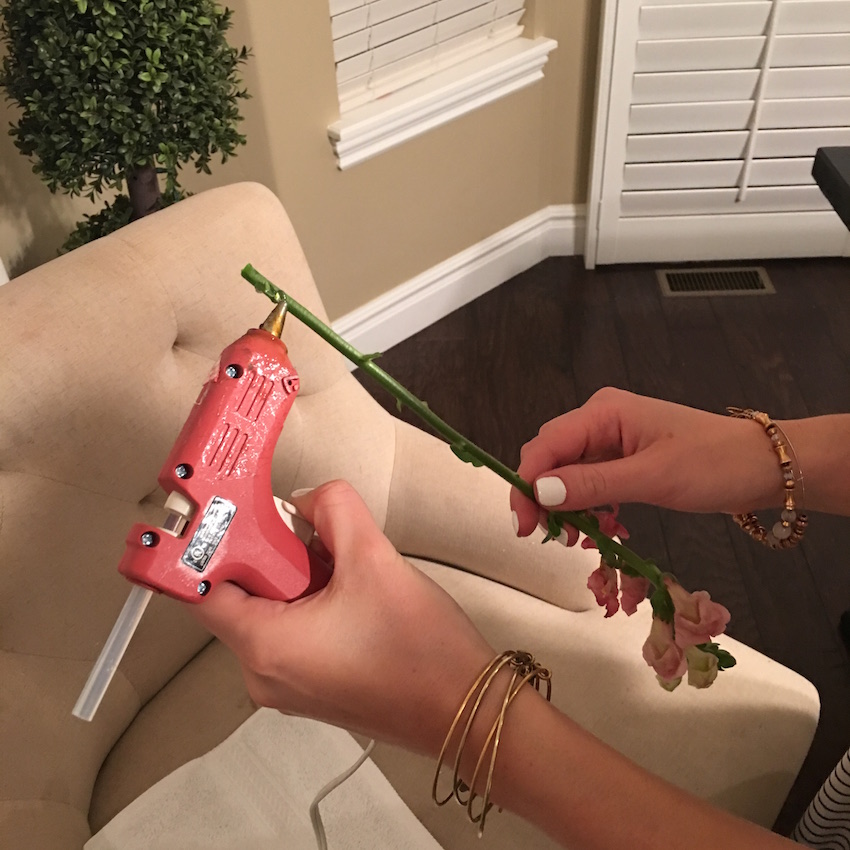
I hung the loom first from our chandelier and then worked on it
Hot glue the primary flowers around the loom in equal spacing across from each other
Simply add the other flowers around & in empty spots
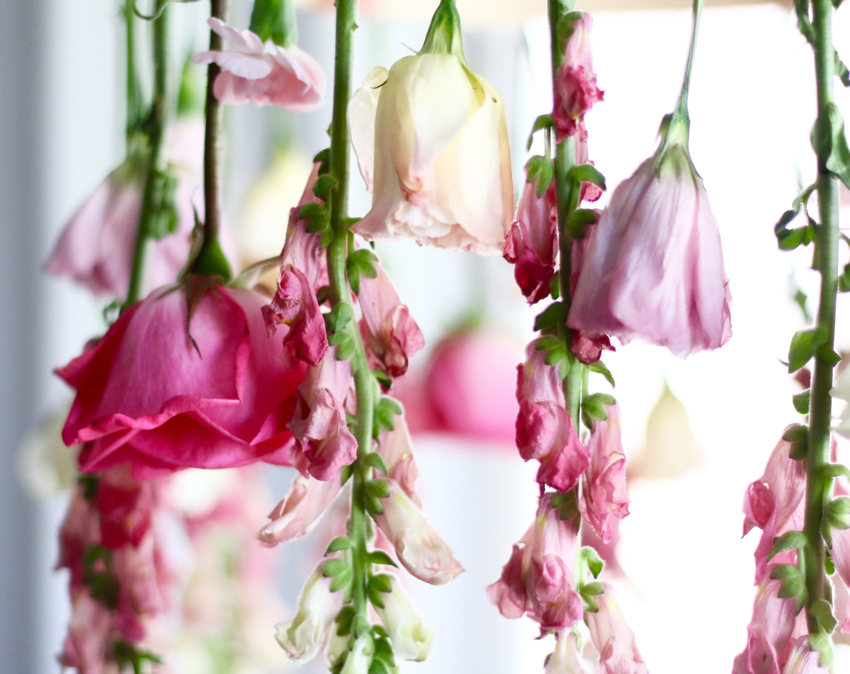
DONE! SO EASY!
I did this the night before because I knew I wouldn’t have time before we had to leave in the morning. I had NO problem with the flowers looking old! They obviously are upside down so no worry about them wilting.

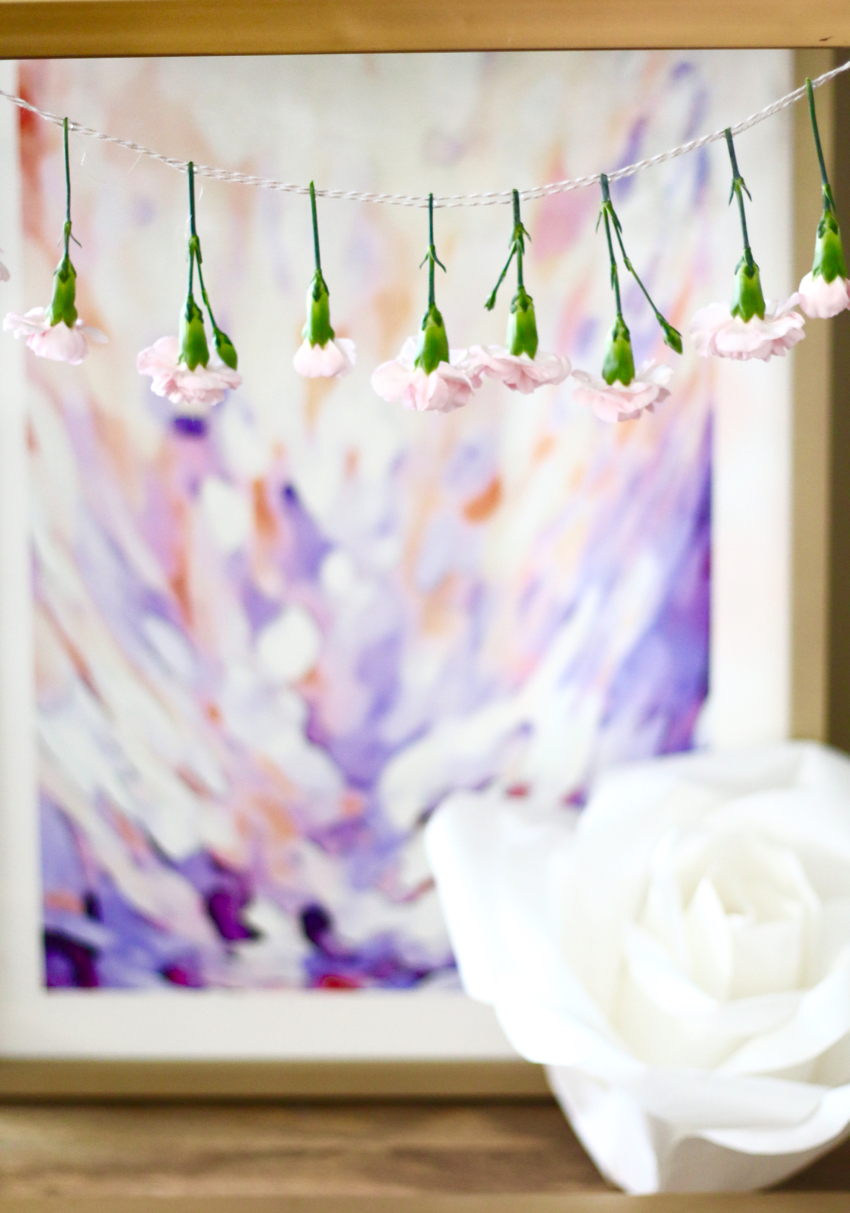
Flower Garland
I simply used carnations which I felt were so easy to work with and kept their shape for days! I cut them and hot glued them to a string! SO easy & the perfect touch!
Happy Partying! XO